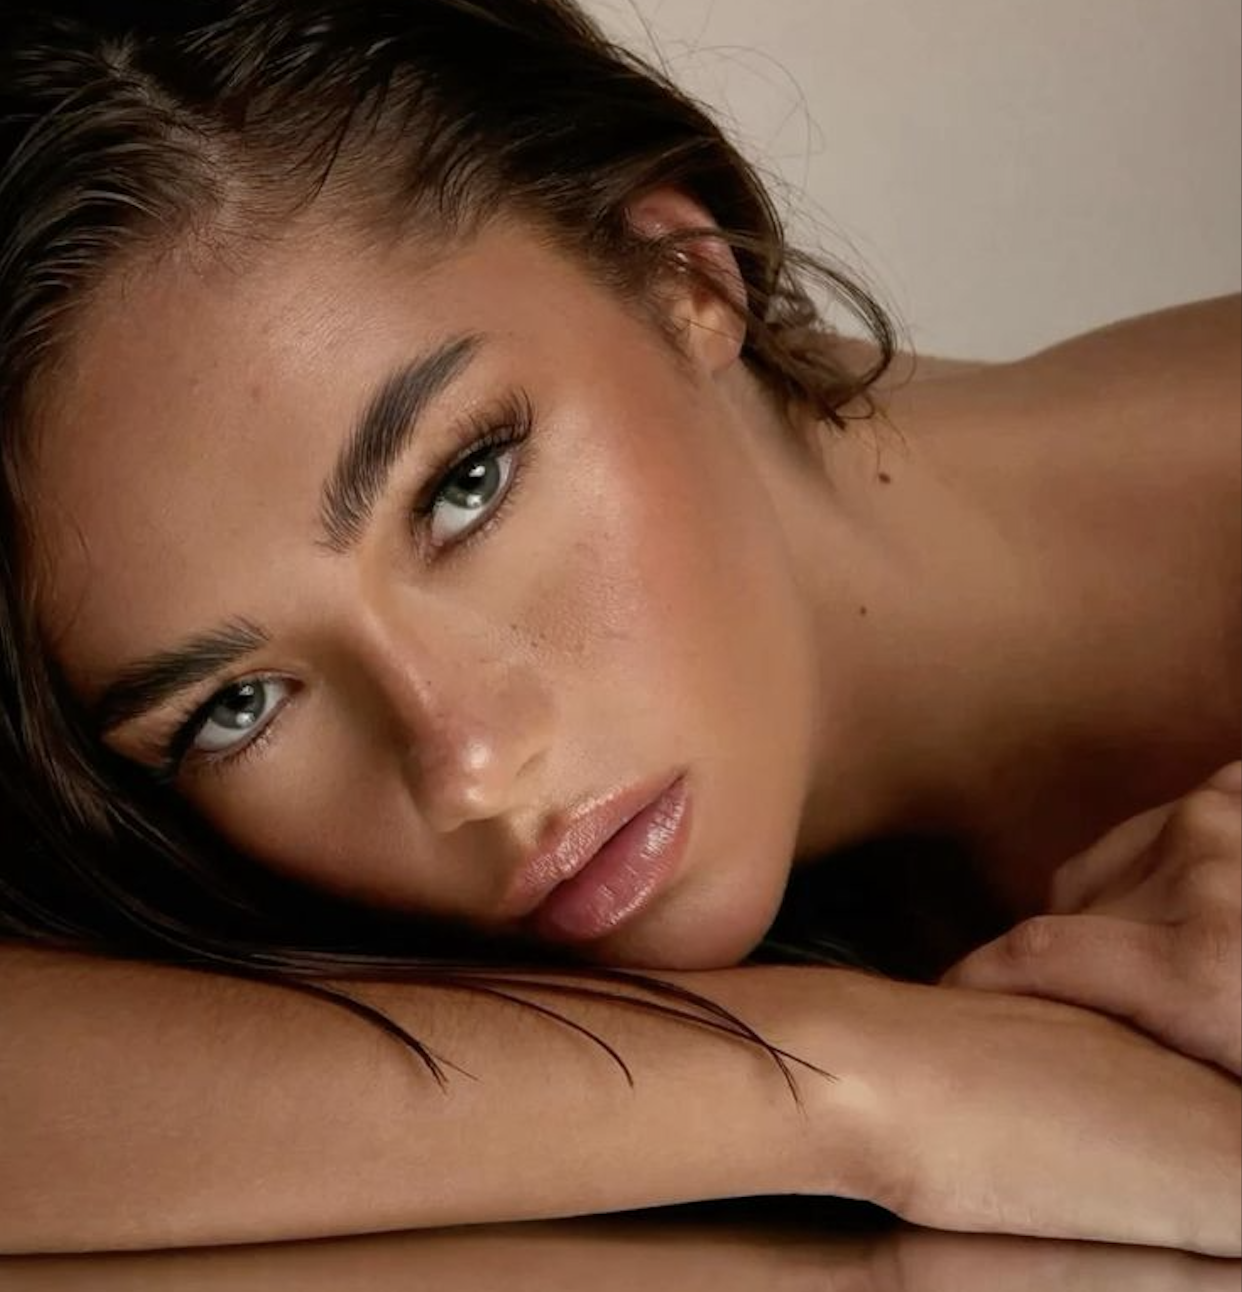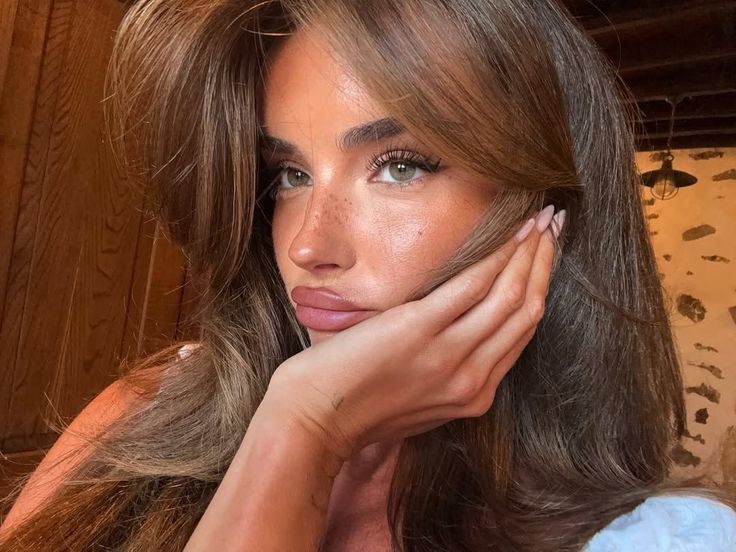
If you’ve ever applied blush, stepped into different lighting and suddenly wondered “have I put way too much on?”, you’re definitely not the only one.
TikTok has given this a name: blush blindness.
It’s when you get so used to seeing yourself with lots of blush that your brain starts thinking it looks normal. You keep adding “just one more layer” until you look in another mirror, take a photo or someone points it out, and suddenly realise you’ve gone a little overboard.
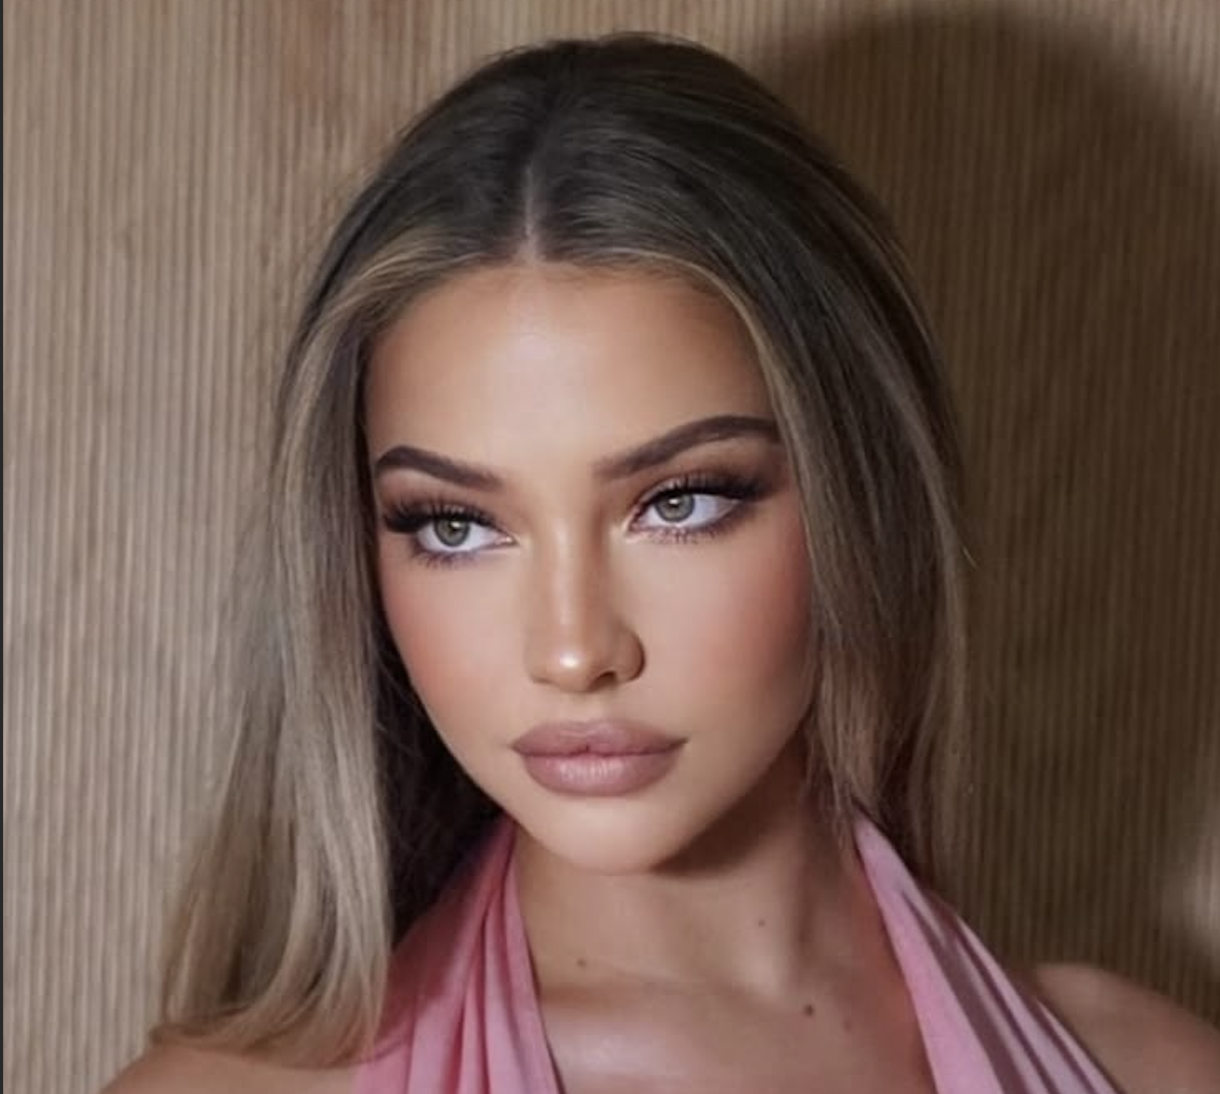
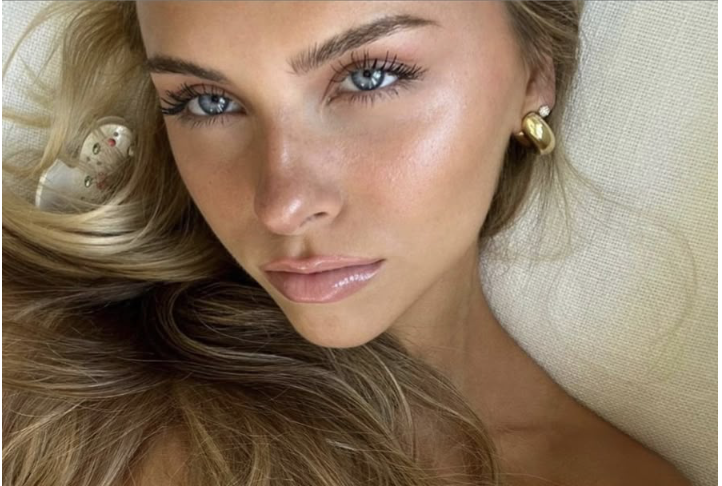
With blush becoming one of the biggest makeup trends of the last few years, it’s not surprising that more people are experiencing it. From the sun-kissed makeup trend to the “cold girl” look, blush has gone from being an optional step to one of the main features of an entire makeup look.
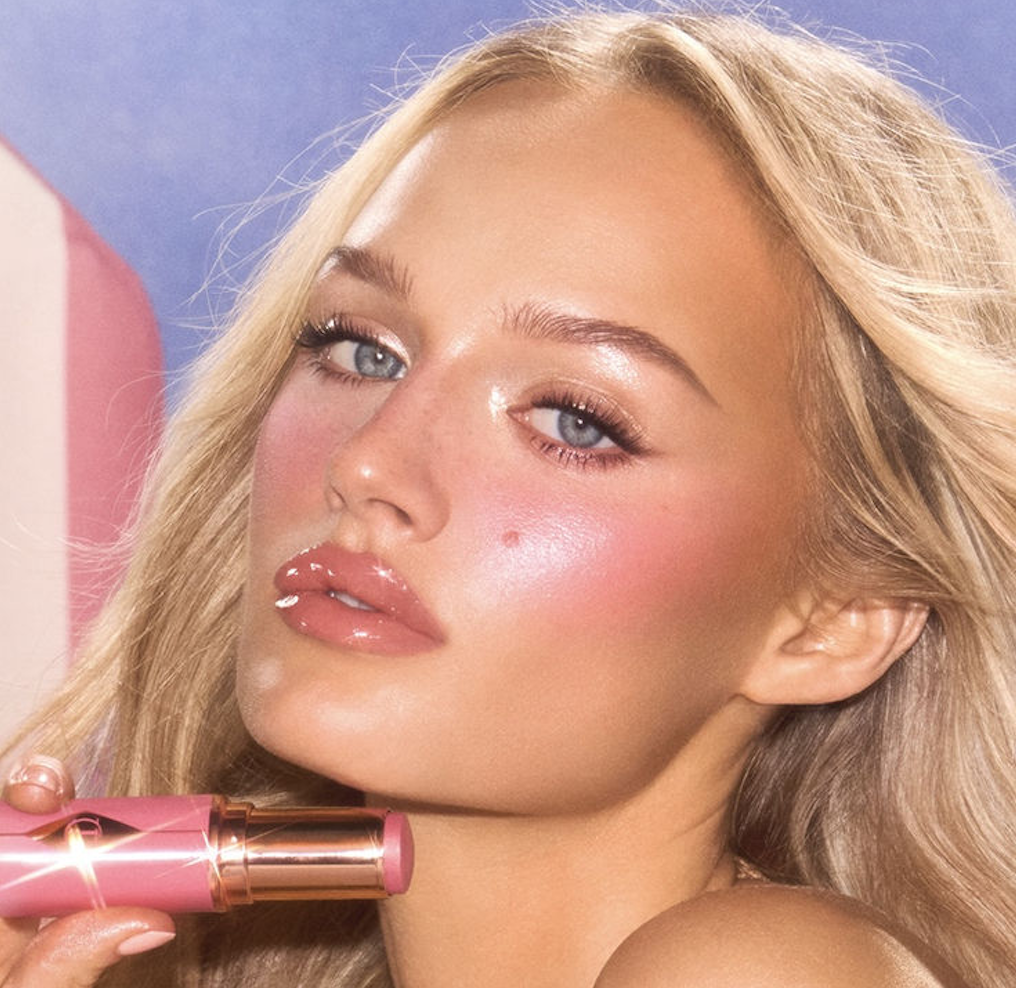
The good news? There’s no such thing as the right amount of blush. If you love a bold, rosy cheek, wear it. But if you’re aiming for a softer look, choosing the right formula can make a huge difference.
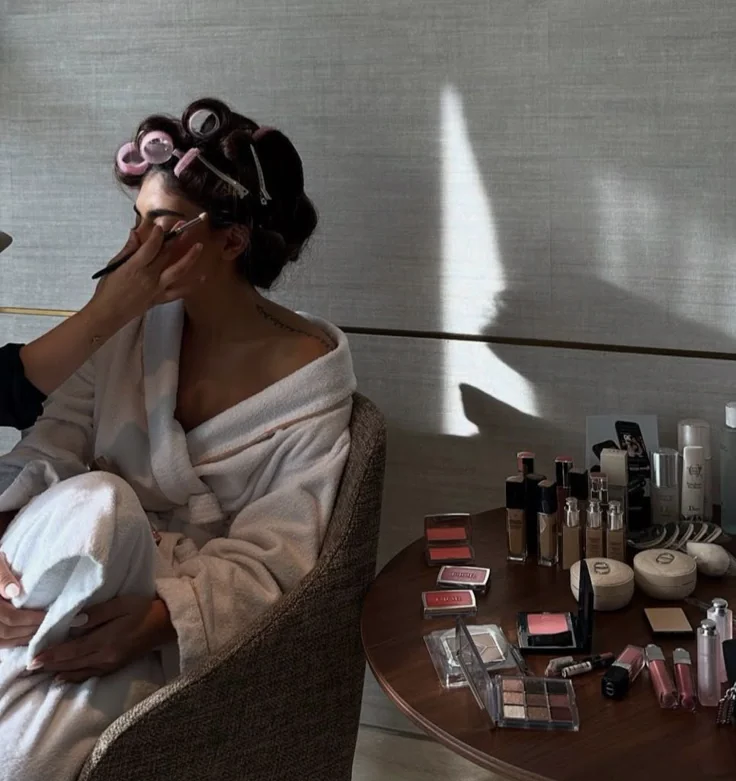
These are the blush formulas I’d recommend depending on the finish you’re after.
In This Guide:
- A liquid blush
- A powder blush
- A cream blush
- A cheek tint
- The full product list
1. Liquid Blush
Rare Beauty Soft Pinch Liquid Blush
If there’s one blush that completely changed the beauty industry, it’s probably this one.
The Rare Beauty Soft Pinch Liquid Blush became famous because a tiny amount goes a very long way. One dot is usually enough for both cheeks, which is exactly why so many people accidentally apply more than they need.
The best way to use it is to start with the smallest amount possible. You can always build the colour up afterwards, but it’s much harder to take it away.
If you’re worried about blush blindness, this is definitely a “less is more” product.
Rare Beauty is vegan and cruelty-free.
2. Powder Blush
Too Faced Cloud Crush Blush
If you’re someone who accidentally goes overboard with blush, powder formulas are often a little easier to control.
The Too Faced Cloud Crush Blush builds gradually, making it easier to add colour little by little instead of getting lots of pigment all at once. It gives a soft, blurred finish that works beautifully for everyday makeup.
It’s also a great option if you prefer using brushes rather than applying products with your fingers or a sponge.
Too Faced is considered cruelty-free, although its parent company, Estée Lauder, is not considered cruelty-free.
3. Cream Blush
e.l.f. Putty Blush
Cream blush is probably the easiest formula for creating that fresh, natural-looking flush.
The e.l.f. Putty Blush blends into the skin effortlessly and gives a soft finish that never looks too powdery. It’s also very forgiving because you have a little more time to blend before everything settles into place.
If you’re new to cream blush, this is a great place to start.
e.l.f. is vegan and cruelty-free.
4. Cheek Tint
Benetint
If long-lasting blush is your priority, Benetint is hard to beat.
Unlike traditional blushes, it actually stains the skin, which is why it lasts through long days, hot weather and humidity.
The only downside is that you need to blend it quickly because once it sets, it becomes much harder to adjust. For that reason, it’s usually better to work one cheek at a time rather than applying it everywhere at once.
One thing to note: Benefit is not considered cruelty-free, and Benetint is not vegan as it contains carmine.
The Full Product List
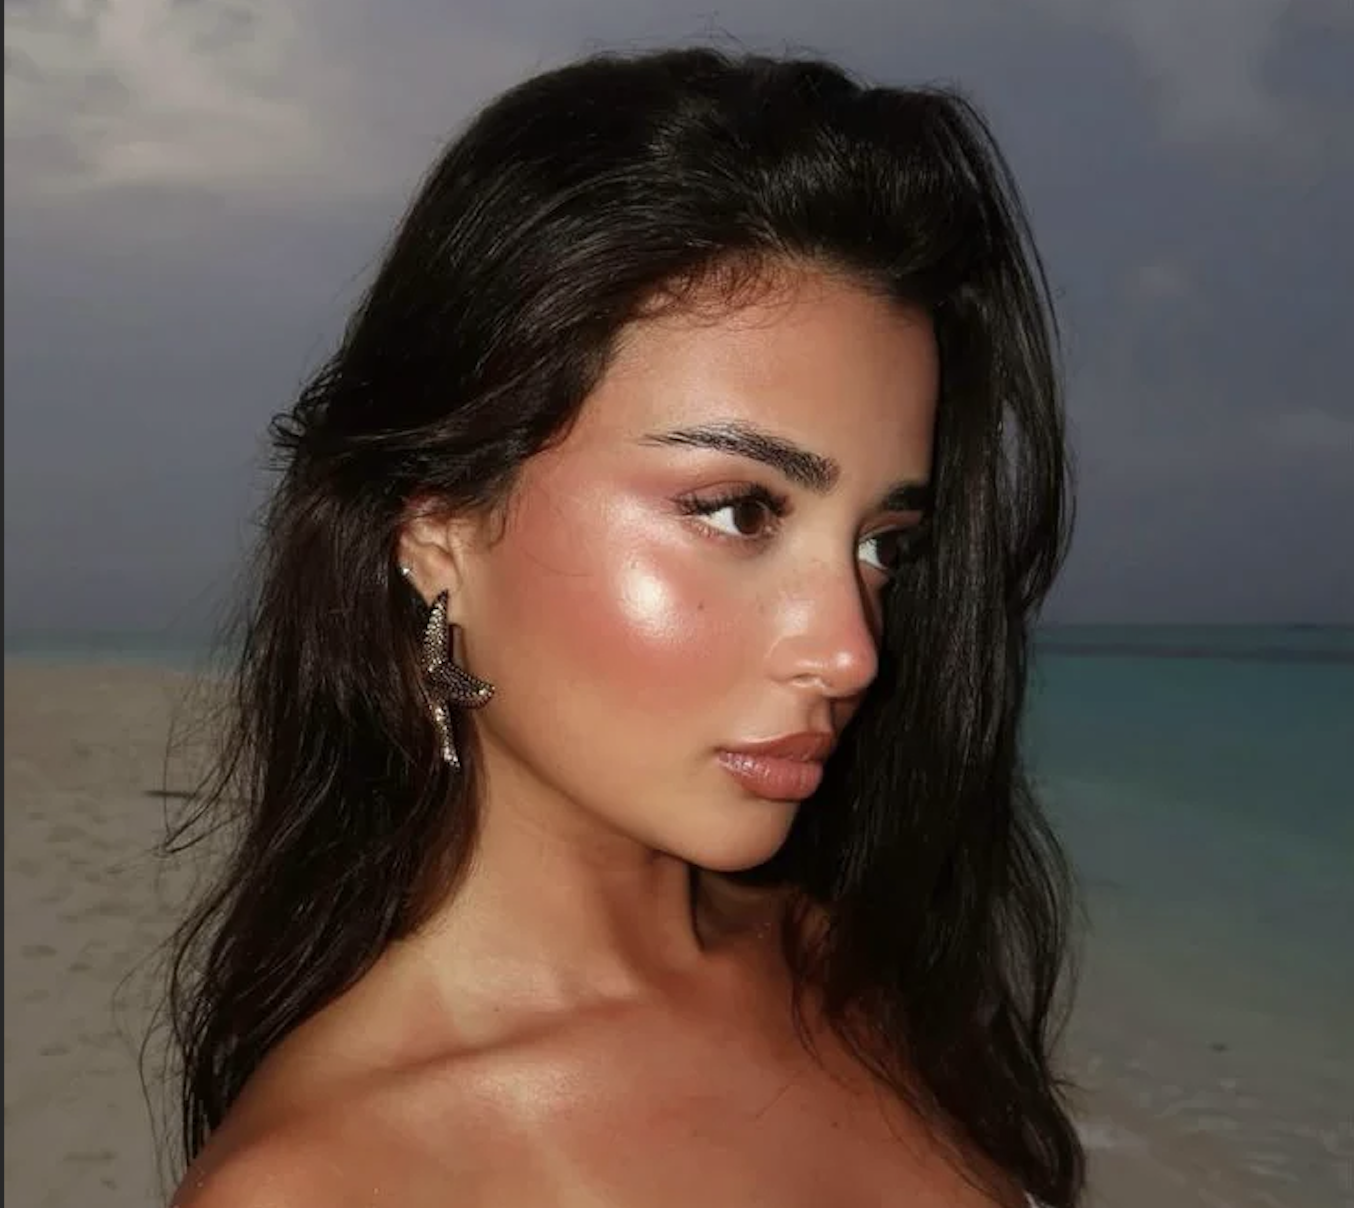
Blush blindness isn’t actually about wearing “too much” blush. Makeup is personal, and if you love a bold cheek, that’s completely up to you.
The important thing is making sure your blush looks intentional rather than applying more simply because you’ve stopped noticing how much is already there. Checking your makeup in natural light, stepping away from the mirror for a minute or even taking a quick photo can help you see your makeup the way everyone else does.
At the end of the day, whether you prefer barely-there blush or full sunset cheeks, the best amount is whatever makes you feel confident.
Featured Products
This post contains affiliate links. If you purchase through our links, we may earn a small commission at no extra cost to you. See our affiliate disclosure for more information.