Emma’s Eyeshadow for Beginners
Although applying eyeshadow is meant to be quite easy, I’ve always found that it never looked quite how I wanted it to. I realised this is because the way I was applying it was totally wrong. As well, I wasn’t using the right shade for my eye colour and skin tone. I have blue eyes and fair skin and so for me, trying to find a shade which accentuated my eyes was actually quite hard. I found that instead of highlighting my eyes, I was making them look quite harsh.
After extensive research and shopping around, I’ve finally found what works for me! In this blog post I don’t talk about colours exclusively because we all have such different eye tones. Instead, I hope to explain how I apply eyeshadow overall. This should hopefully help you in your quest to get that perfect everyday eyeshadow look nailed.
Table of Contents
It doesn’t matter if you’re a makeup newbie or a seasoned pro, we’ve all faced the decision on whether to buy the budget-friendly makeup or to splurge and go for the more expensive stuff. When faced with this choice, the question is, “is there really that big a difference between the cheaper and more pricey products?”
If you’re a casual makeup wearer, or on a tight budget, you might find splashing out on makeup isn’t a big priority for you. In this instance, it makes more sense to stick to low-cost, ‘drugstore’ brands. On the other hand, maybe you’re a frequent makeup wearer, or have more disposable income, and want to upgrade from a drugstore brand to a more expensive brand of a product you desire. But how can you tell if the difference is actually worth the additional money?
As mentioned in previous posts, we at MakeupLabs firmly believe that a product being more expensive does not automatically make it better than its lower-cost counterpart. For example, a lot of prestigious brands also own drugstore brands and sell similar products under both names. Often, the main difference between the makeup is not so much the product itself, but rather its packaging and marketing. However, we have purchased our fair share of cheap and expensive makeup and sometimes forking out the big bucks was worth it in the end. This leads us on to today’s blog post, when purchasing certain makeup products should you splurge or save?
Step One
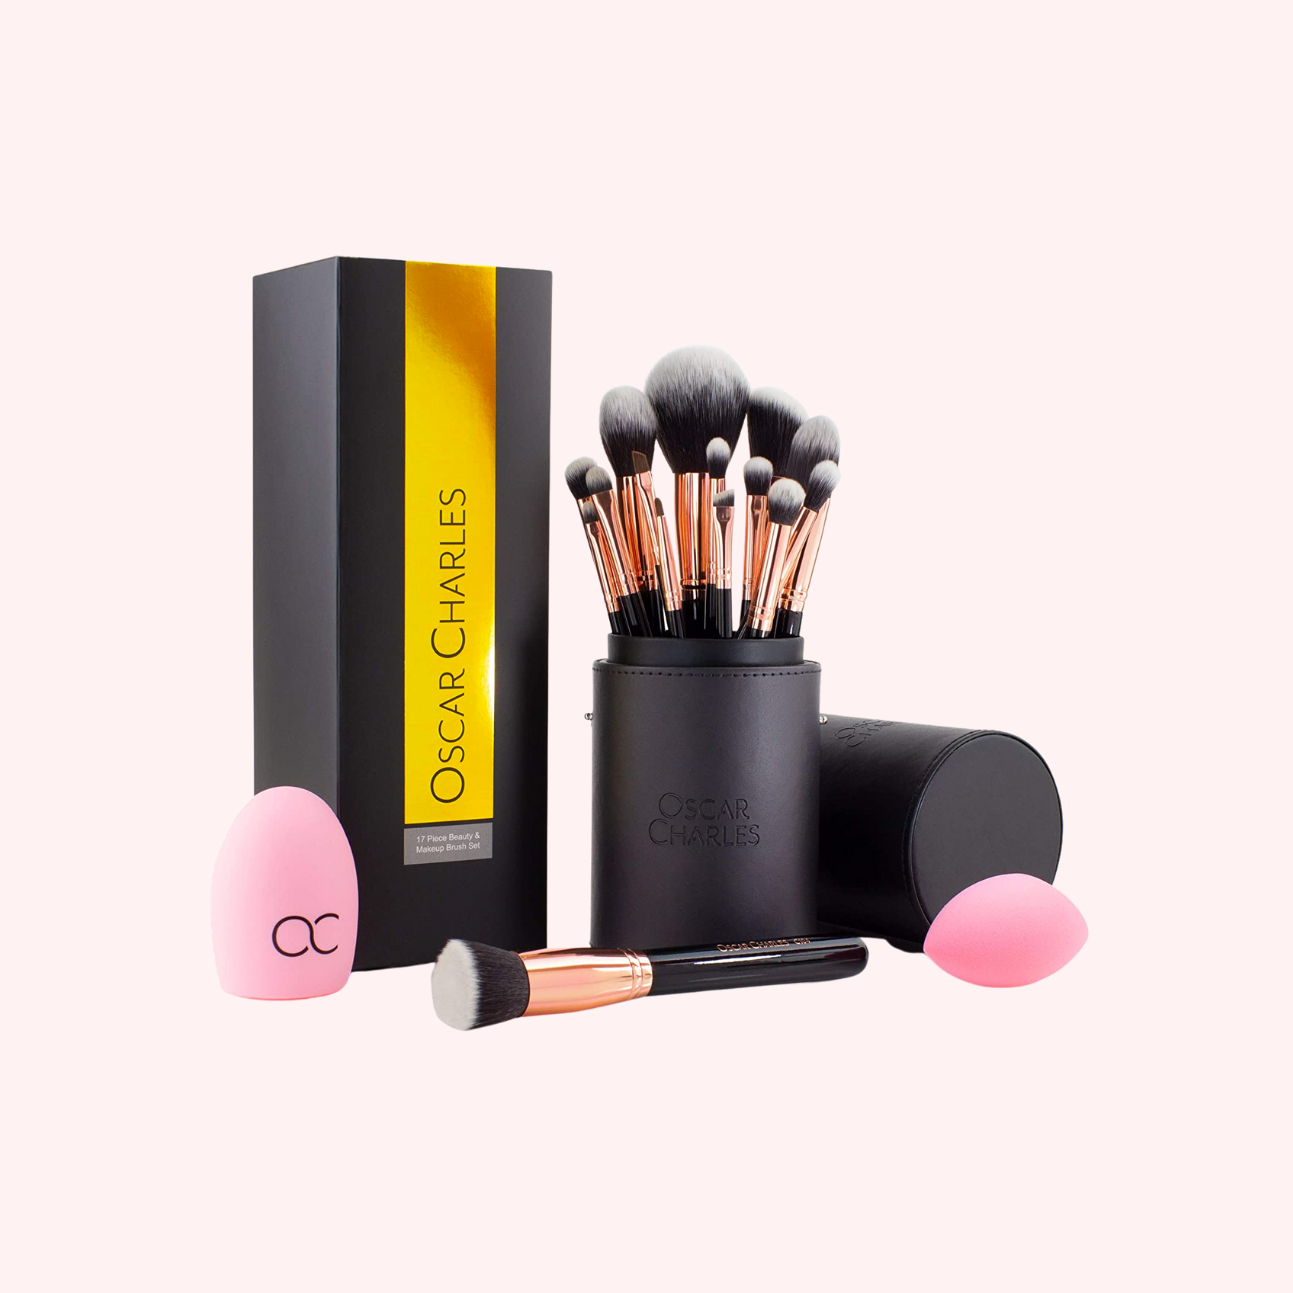
Begin by investing in a set of good makeup brushes. Whilst we are big fans of applying foundation using our fingertips, for your eye area we recommend brushes as they are more precise, hygienic, and soft! We have tried and tested many different makeup brushes. Personally, we like synthetic brushes. Although natural-fibre brushes sound good, we find that they’re not any better than their synthetic counterparts but a LOT more expensive. Synthetic brushes are also easier to clean and are allergy-friendly.
Our top brush set recommendation is the Oscar Charles Professional Makeup Brush Set. This set is complete with 15 brushes, one makeup sponge, a brush cleaner, and a case for storage and travel. Made out of synthetic brush fibres, they are super soft and easy to use. Designed to be of a professional grade standard, these brushes are hypoallergenic, cruelty-free and gentle on your skin. We believe this is the perfect brush set to use when applying eyeshadow.
Step Two
The second step is to apply a base eyeshadow. Using the eyeshadow brush from the set, grab your go-to eyeshadow palette and dip your brush into your favourite base shade and apply it lightly onto your eyelid. There are various looks you can achieve with eyeshadow. For example, if you’re going for a dramatic smokey-eye, then we recommend bringing your base colour all the way up to reach your brow bone. Otherwise, the most common eyeshadow looks stop at the crease of your eye.
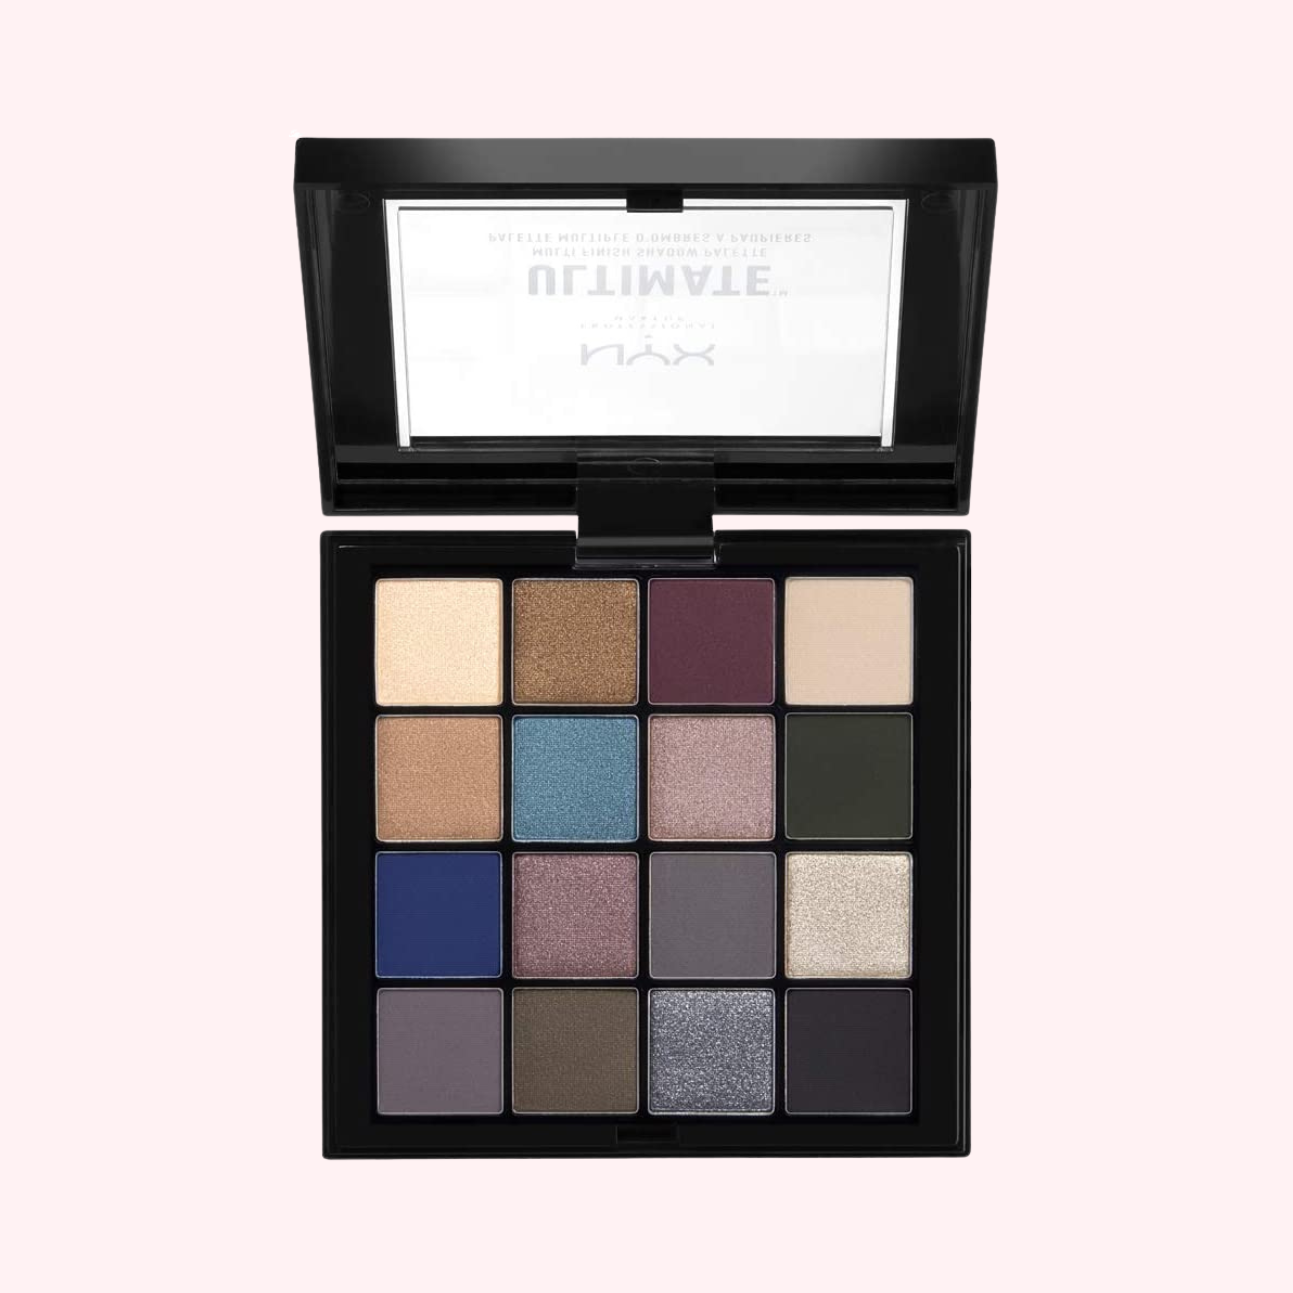
We recommend the NYX Eyeshadow Palette. Filled with sixteen shades, this palette is brilliant to start your eyeshadow makeup journey. It features a wide range of colours and many different finishing effects (such as metallic, shimmery, and satin). We find these shades to be long lasting and quite bright looking on the eye. The formulas used in this palette are easily buildable, meaning you can layer as you go!
Step Three
The third step is slightly trickier. It’s time to concentrate on darker shadow in your eye crease. Because darker shades attract light better, applying a darker colour to the crease of the eye helps to make your eyes pop! It adds an element of depth and dimension if applied correctly. To do this, use a domed brush into a dark shade from your palette and then sweep it gently across your eye socket – following the crease as closely as possible. We recommend a dark brown shade, as this is extremely flattering regardless of your eye colour.
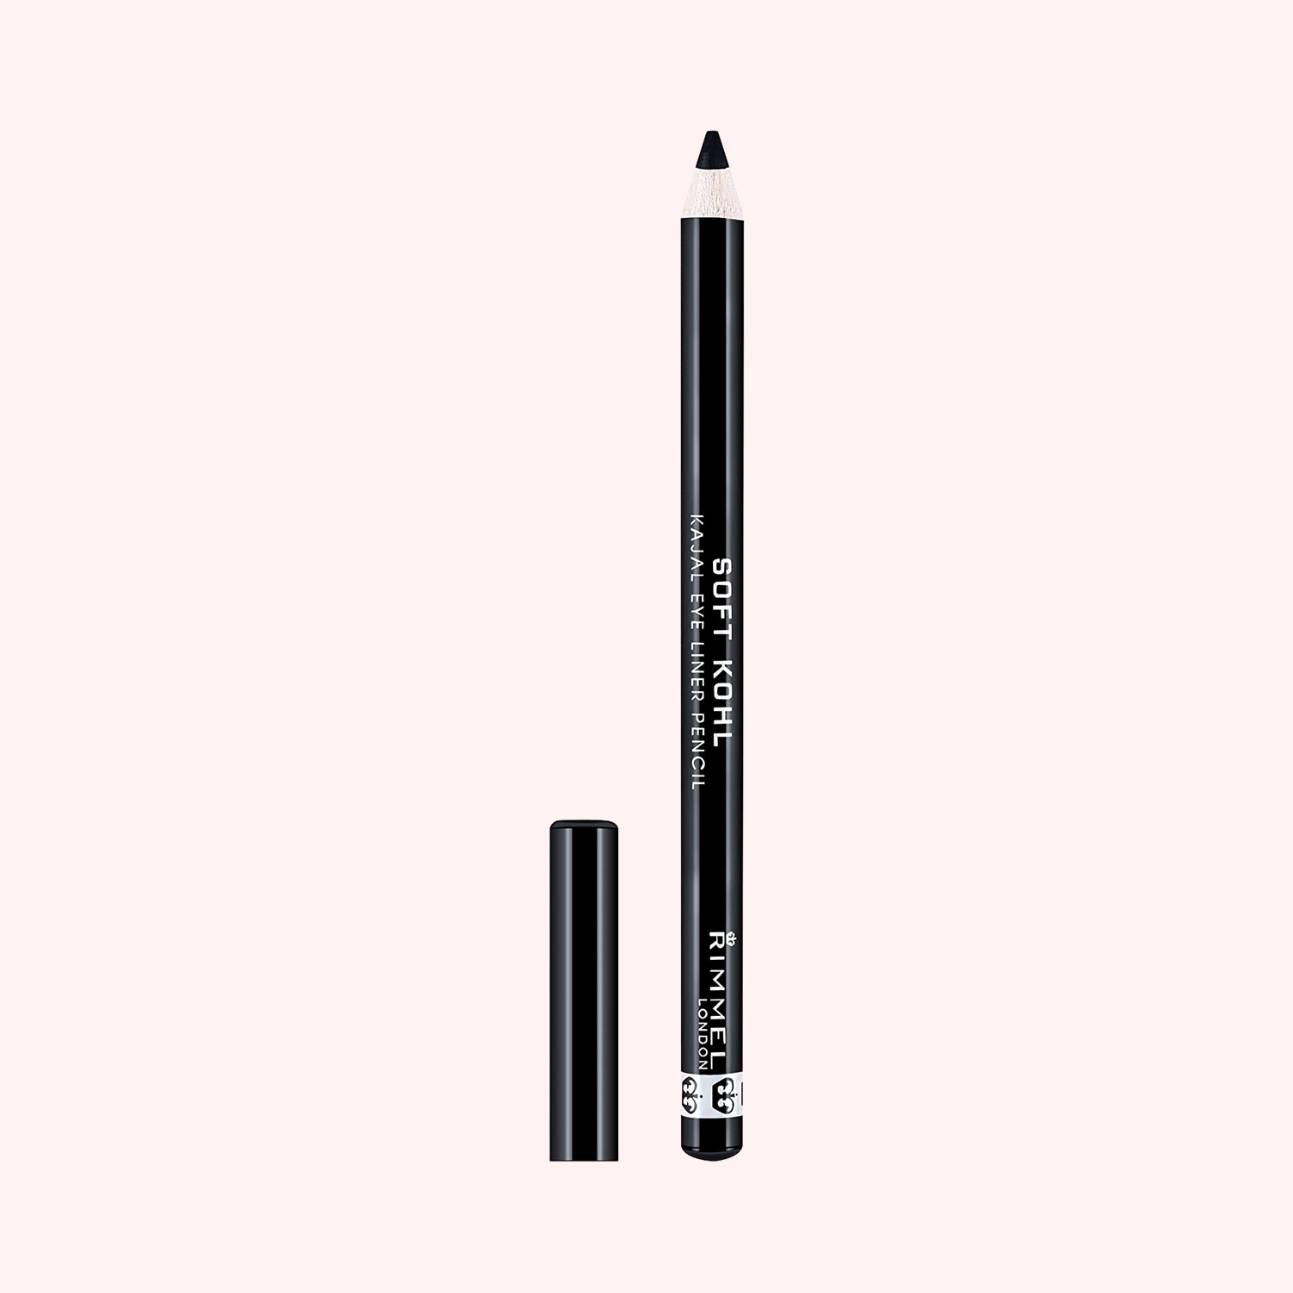
The fourth step is designed to make your eyes stand out. Using a layer of eyeliner across your lash line can help make your lashes look thicker and your whole eyeshadow look more impactful. Using a flat, short brush, glide a dark colour along the top of your lash line. We also recommend adding a little to your lower lash line on the outer edge. If you don’t want to use a brush and palette for this, we recommend Rimmel London’s Eyeliner Pencil. This soft, Kohl pencil delivers a dense, smudgeable colour, which lasts up to 12 hours. It’s very easy to apply and glides across eyeshadow effortlessly.
Step Four
The last step is to highlight with a shimmery shadow. In order to make your eyebrows stand out and add a little lift to your overall look, adding a shimmery light-coloured eyeshadow shade under the brow will do just that. We tend to go for a pearly colour and add this right underneath our brow bone. We also use this shade to add a little light colour to our inner eye corner – which helps brighten up the look!
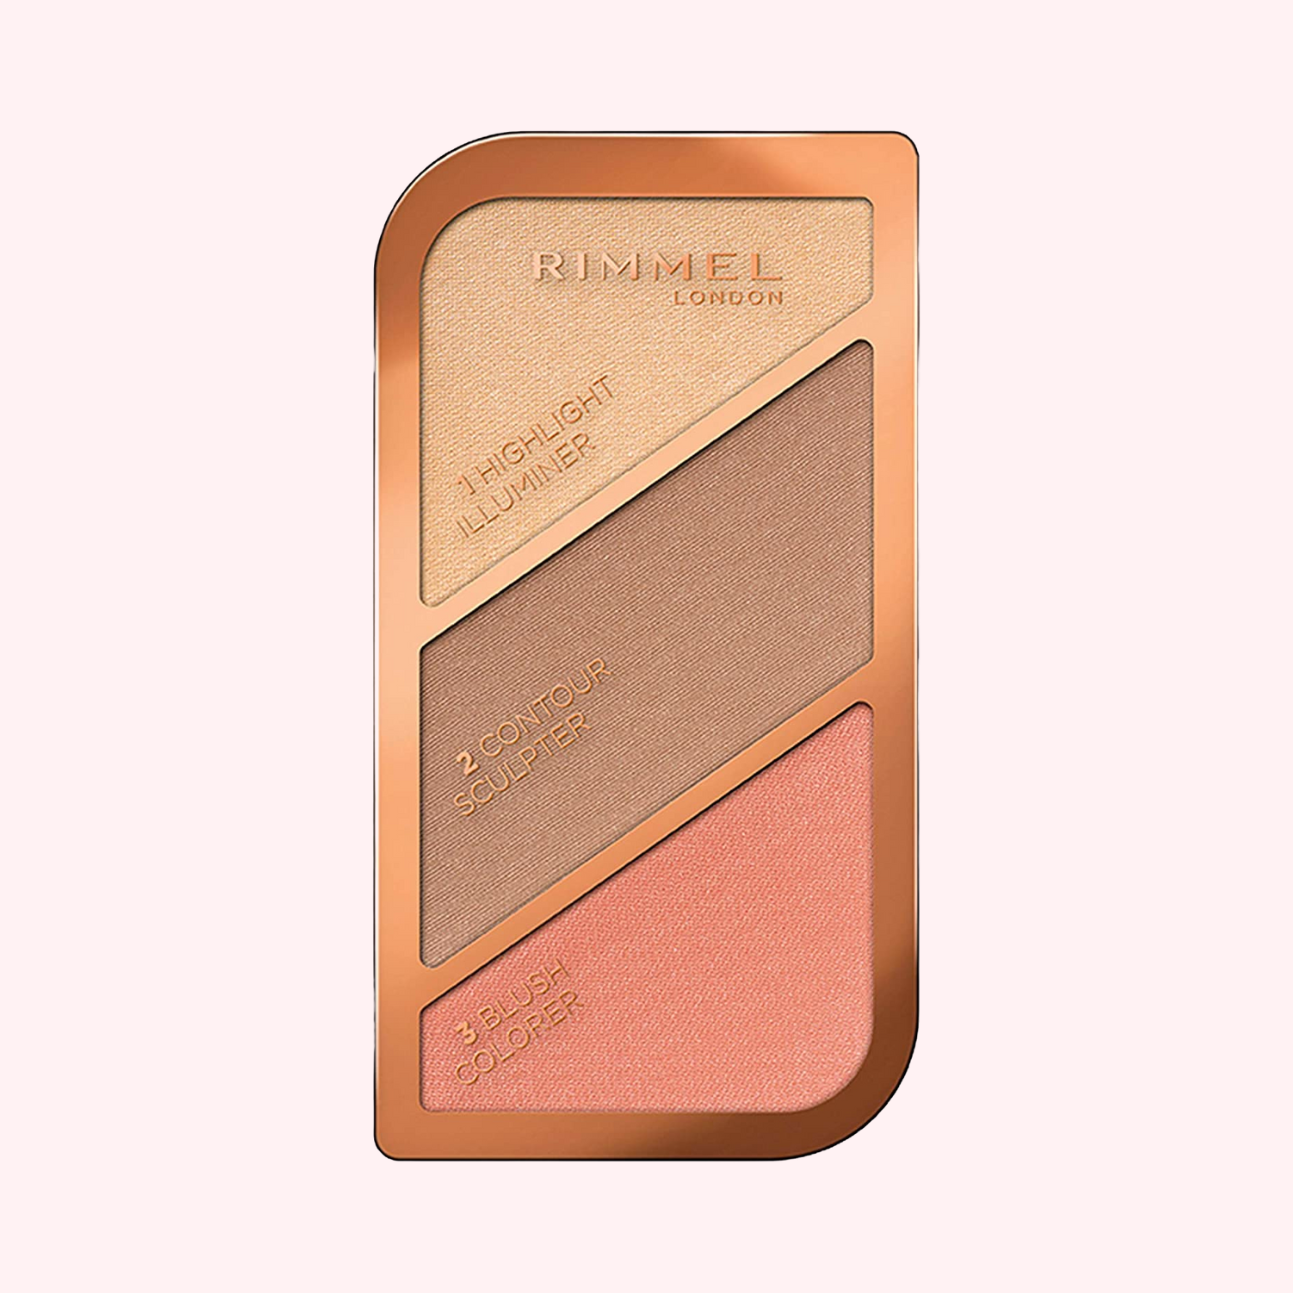
You can also use a highlighter for this. Highlighter tends to be a bit more shimmery and lighter than your typical eyeshadow powder. For this, we recommend the highlighter found in the Rimmel London Contour Palette. It’s long-lasting and easily blendable. We use it to enhance our natural eyebrow bone structure. It also really stands out in bright lighting or flash photos.