
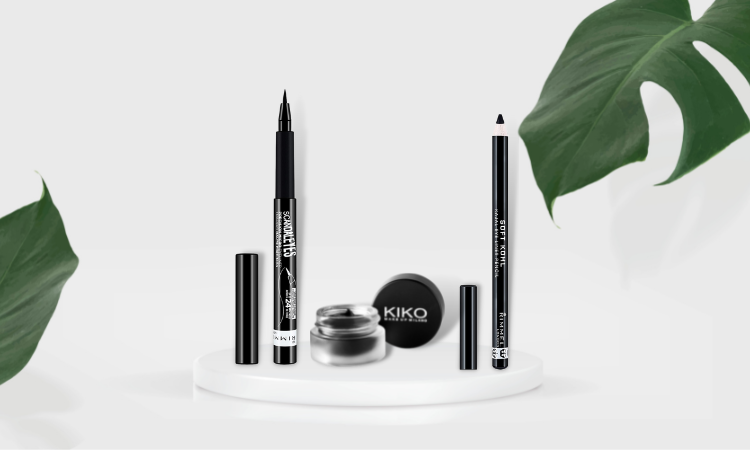
Eyeliner: Pencil, Liquid, and Gel
We absolutely love a good eyeliner look… but why must it be so hard to achieve?! If you’re lucky, you’ll have a perfect liner look in under 5 minutes. But on those days where you sit in front of that mirror for half an hour, an hour (or dare we even say two?!) and no matter how many times you try, your liner is just not having any of it. So we figured we would go back to the basics and discuss the three tools for doing your liner: pencil, liquid, and gel.
Pencil Liner
Pencil liners are perfect for a quick and easy natural or smudged look. They are simple to apply because they work like any other pencil. For beginners, we highly recommend starting your eyeliner journey with a pencil because it’s the easiest to use. A quality eyeliner pencil glides across your eyelids, doesn’t tug at your skin, and is more merciful of shaky hands than liquid or gel liners.
Hold the pencil liner as if you would a normal pencil, and gently draw along your lash line. The closer you can get to your lashes the better – but if you’re nervous to go too close that’s okay! Just do what you’re comfortable with whilst practising. Like any skill, the more you do it, the easier it will get and the better you’ll become at doing it.
We recommend a non-waterproof pencil liner for beginners. If you make a mistake – don’t worry! A good tip is to dip a cotton bud into micellar water and use this to lightly remove any mistakes you make. As for colour, we think that for daily makeup looks a brown or black tone are most common. Maybe on a night out you could splash out on a colour which accentuates your eyes. For example, copper is recommended for those with blue eyes. Whereas plum coloured liner is recommended for those with brown eyes. This will keep your eyes looking natural but just something a little extra to make them stand out. With everything makeup, experimenting is your friend! Try different colours and styles until you find your go-to.
Don’t forget that pencil liners will require a sharpening every now and then. If you have a makeup sharpener on hand then that will be perfect! If not, a regular pencil sharpener would still do the trick.
Our top recommendation for a pencil liner is the Rimmel London Eyeliner Pencil.
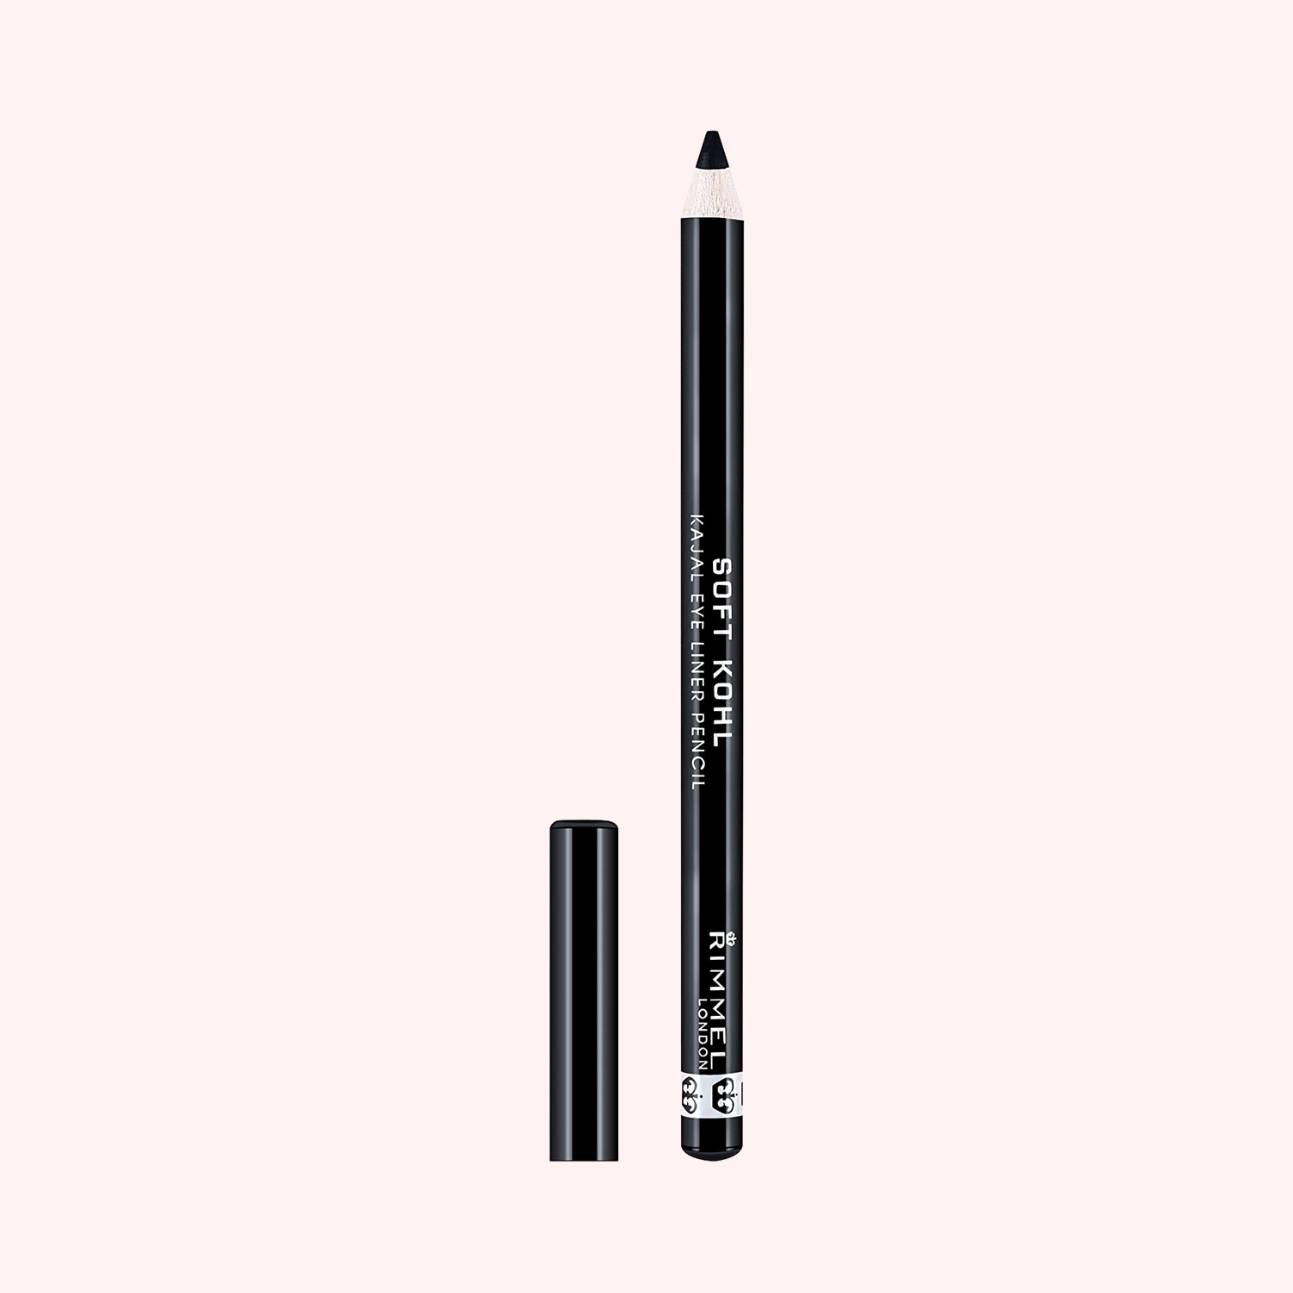
This pencil delivers a dense and smudgeable colour, designed to last up to 12 hours! Guaranteed to reduce tugging and dragging across your eyelids, this liner is perfect for achieving a seductive, smokey eye look with minimal effort and skill required. We recommend applying in the top and bottom of your lash line.
Liquid Liner
Unlike the pencil, a liquid liner creates a smoother, sharper, and more defined look. Liquid liner is possibly the most commonly used eyeliner that looks similar to a marker pen. Using this type of eyeliner, you can create various looks. For example, maybe you like a thin, close-to-the-lash look? Or maybe you’re more of a dramatic type, and you like your liner to have a flick at the end? Liquid liner offers the most flexibility for a range of looks due to its preciseness. It’s also pretty easy to use – but the more practice you have the better and quicker you’ll be at using it.
Start in the middle of your eyelid. Similar to the pencil, aim to go as close to your upper lash line as possible. Then apply your liner across your upper lash line. We recommend going in the direction of the outer edge of your lash line. We find this flow the easiest to stick to and creates the smoothest final look.
Same as before, if you make a mistake, dip a cotton bud into micellar water and use this to lightly remove any mistakes you make. This method can also be used to wipe away excess liner or even to sharpen the edge – creating a more defined eyeliner look.
If like us, you find your shaky hands are getting in the way of your liquid liner preciseness then we have a top tip for you! Set up your mirror on a table so you can rest your elbow upon the table when applying your liner. This will help keep your hand steady as you apply.
We recommend using a liquid liner if you fancy doing a winged look. A winged look can intensify your makeup game. To do so, simply follow the curve of your upper lash line in an upwards fashion (about 45 degrees from the outer corner of your eyelid) and then shade in the wing as needed.
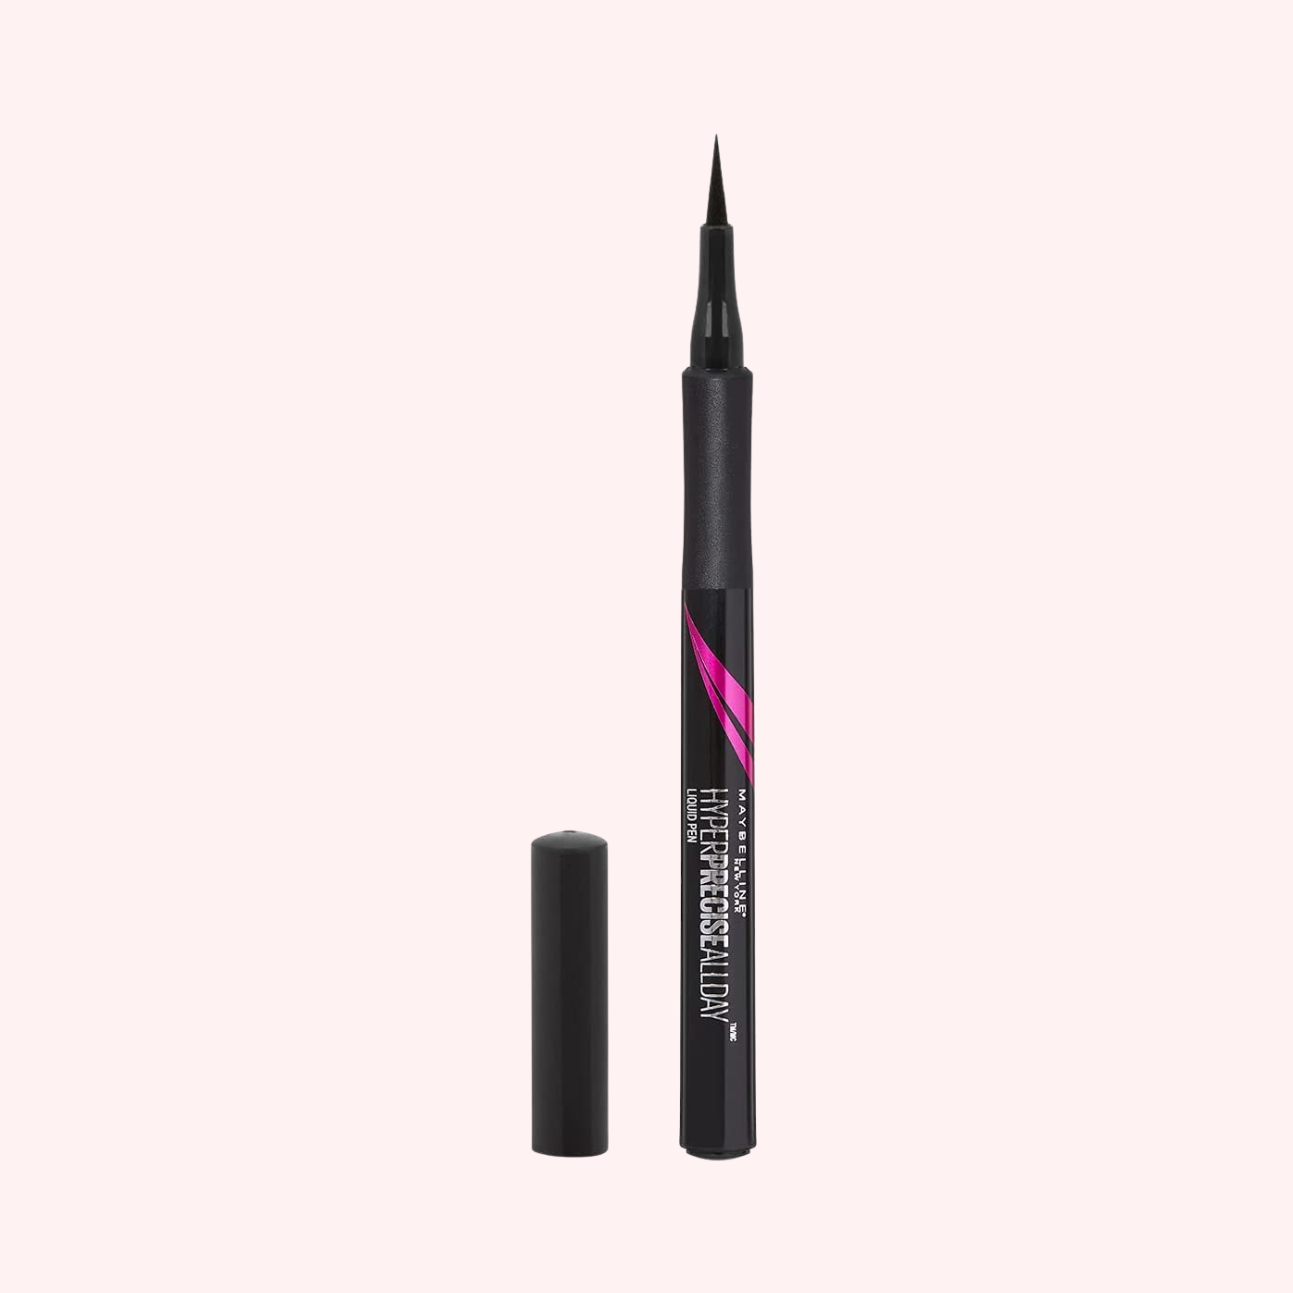
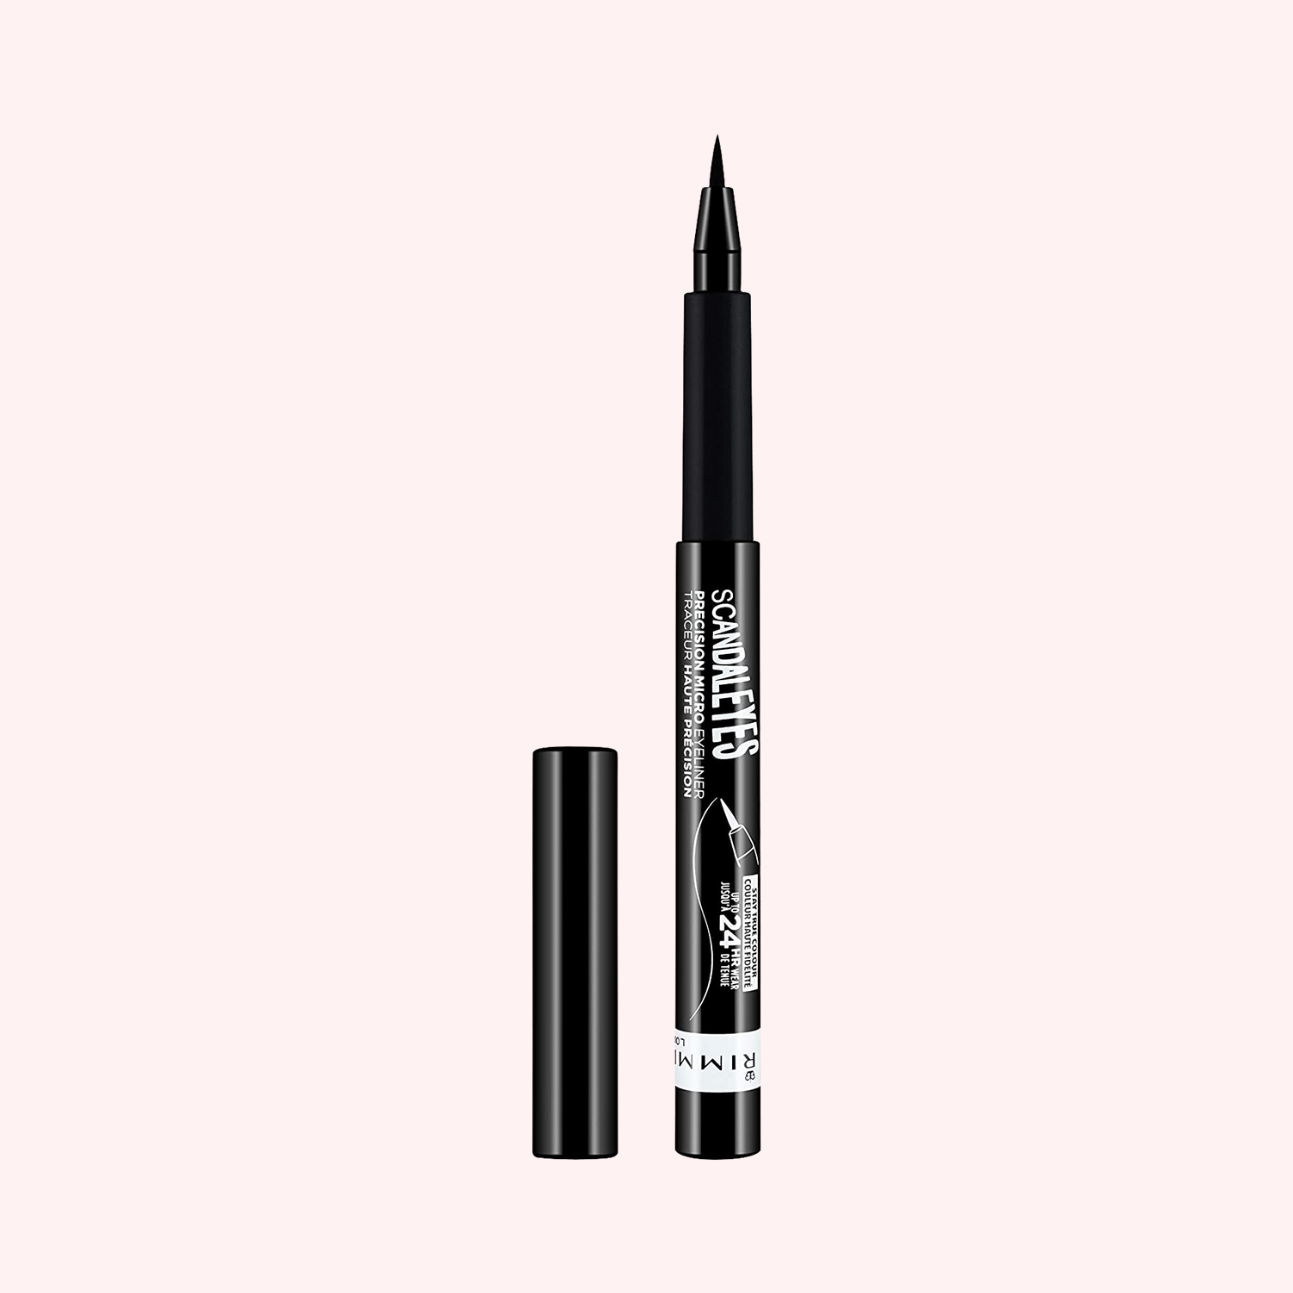
Our recommendation for liquid liners is the Maybelline Precise Liquid Eyeliner and Rimmel London’s Scandal’eyes Precision Eyeliner. Both of these liquid liners are soft on the eyelids, easy to use, and last ages… so long as you close their lids properly!
Gel Liner
Last but not least in our liner trio is the gel liner. Most commonly used by those who are confident in their eyeliner abilities, the gel liner offers a more dramatic look. Gel liner typically comes in a small pot with a brush tool, although if we’re being honest, the best eyeliner makeup brushes are ones bought separately to the ones that come with the liner. This is because an eyeliner brush needs to be extremely precise and small, so we recommend shopping around and getting your hands on a good liner brush which you can then use with any gel you buy thereafter. We prefer an angled brush for applying liner.
Gel liner is a thick formula and helps give your eyes a more dramatic, stand-out look. For example, this product is brilliant for creating a cat-eye and winged look. Although we still stand by liquid liner as the perfect tool for a winged look, if you’re going for a bigger and bolder wing, then the gel would possibly be more suitable.


[…] Eyelashes are probably the most ignored of the lot while doing your eye-makeup. However, having long, thick lashes makes all the difference in the world. Not only does it enhance the look of your eye makeup, it does add more oomph to your look and we would rather you not ignore this part of the makeup. We talk in depth about eye liners and which one to choose based on your requirement, here. […]
[…] Eyelashes are probably the most ignored of the lot while doing your eye-makeup. However, having long, thick lashes makes all the difference in the world. Not only does it enhance the look of your eye makeup, it does add more oomph to your look and we would rather you not ignore this part of the makeup. We talk in depth about eye liners and which one to choose based on your requirement, here. […]
[…] Eyelashes are probably the most ignored of the lot while doing your eye-makeup. However, having long, thick lashes makes all the difference in the world. Not only does it enhance the look of your eye makeup, it does add more oomph to your look and we would rather you not ignore this part of the makeup. We talk in depth about eye liners and which one to choose based on your requirement, here. […]