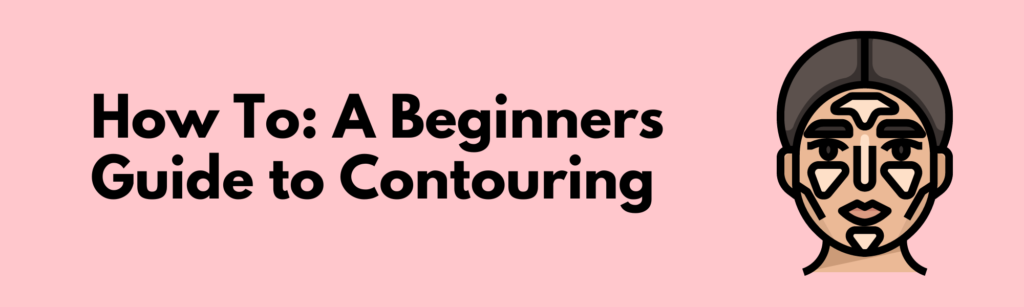
What is Contouring?
When first getting into makeup, it’s hard to know what all the terms mean. A commonly asked question we get is… what is makeup contouring? This blog post will focus on discussing what contour is, why you should use it, and our personal recommendations.
Contouring is a makeup technique which is used to help better ‘shape’ your face. Through the use of makeup which is slightly lighter or darker than your natural skin tone, you can sculpt and add dimension to your facial structure. As discussed in our previous concealer post, most complexion makeup we buy is used to match our skin tone exactly. Contouring, on the other hand, is all about creating the effect of shadow and lighting. Done correctly, contouring can enhance your natural facial features and improve your overall makeup look. Whether you want to illuminate certain features, or shadow other areas, contouring is a simple yet effective makeup technique.
How Does Contour Shape Your Face?
By contouring, you can narrow the look of your nose, elevate your cheekbones, and minimise the presence of your forehead. Albeit minor changes, contouring can increase confidence by improving target areas. It’s important to use good makeup tools to ensure your contour isn’t too sharp. The best looks are well blended, soft, and appear more natural.
What Products Do I Need to Contour?
For beginners, the best contour kits come with 2-4 shades in the palette. This is more than enough to create a natural contoured look. Simpler yet, a contour stick is perfect if you’re not confident about your palette abilities. However, you will quickly find that your skills will be limited using a stick rather than powder. That being said, the best makeup looks come as a result of confidence in your abilities to use your chosen products. Go for the kit that you think you could easily use.
How to Contour?
First step is to prep your face. It is recommended you start with your daily skincare routine. Make sure to exfoliate your face before applying moisturiser as this will help keep the makeup from clumping around dry/uneven skin. Although optional, we recommend applying primer to ensure your face is in the best condition to apply makeup. One we highly recommend is the L’Oreal Paris Infallible Primer. Apply your complexion makeup, such as foundation and concealer. This should match your skin tone as closely as possible.
Second step is to focus on shadowing areas of your face. Within the industry, the easiest and most common way of contouring is to shadow underneath your cheekbones. In order to do this, use the darker shade from your contour palette, and by sucking in your cheek, trace the product with a brush along the hollow area of your cheeks. You should aim to follow your jawline’s natural shape. In addition to your cheekbones, you can also target shadow along the sides of your nose (to create the appearance of a slimmer nose), around your hairline (to reduce the appearance of your forehead), or along your jawline (to appear more defined).
Third step is to add highlights. We find this step particularly fun – but you need to be careful not to overdo it. In order to highlight, use the lighter shade from your contour palette and add this to areas of your face which tend to reflect light naturally. The best way to determine which areas this would be is to grab a light (or even the flash from your phone!) and shine it upon your face straight on. At the same time, look in a mirror and focus on which areas of your face are standing out in the light the most. For us, this is commonly your forehead, bridge and tip of your nose, top of your cheekbones, cupid’s bow (between your upper lip and nose), and on the brow bone. The best highlighter isn’t sparkly but rather shimmery. This will ensure illumination that enhances these areas, rather than making them stand out too much.
Fourth step is to blend everything in. As discussed earlier, the key aspect of contouring is using shades that don’t match your natural skin tone. This is why blending is particularly important. You don’t want it to look obvious that you’ve contoured, it should effortlessly enhance rather than draw attention. We recommend using a blending brush to blend the shadow shade and a light fan brush to apply and blend the highlight shades.
The fifth and final step is to set the look. We recommend the Mac setting spray.
Our Product Recommendations
For beginners:

Barry M Chisel Cheeks Contour Creams
The Barry M Chisel Cheeks Contour Creams are the perfect way to start your contouring journey. They’re smooth, creamy, and easy to apply! Simply twist the tube to get a clear head of product, then drag across your face in areas you want to shadow and lighten. The kit comes with two shades, a darker one for shadowing and a lighter one for highlighting. The creamy consistency is perfect for blending – making this almost foolproof for any beginner MUA.
For beginners and experienced MUAs:

Rimmel London Contour Palette
To enhance your natural bone structure and sculpt the perfect photo-ready face, the Sculpting Kit from Rimmel London with its long-lasting lightweight powders is all you need. We think this is good for beginners as it’s clear which shade to use, but experienced makeup artists will also find this pocket friendly product ideal for adding that little extra contour to their daily routine. It’s simple but effective.
FAQs
We checked out the most commonly asked questions regarding contouring and answer them below:
Q. Is contouring worth it?
A. We think so! Whilst it’s not essential to your makeup routine, we think if you can master a good contour then you’ll always leave the house feeling confident.
Q. Can you contour with fake tan?
A. Yes! You can… but we think this requires a more experienced MUA. If you are just starting out, we highly recommend trying the products listed above. Otherwise, if you’re confident in your contouring abilities, then you can use fake tan as the ‘shadow’ and once that’s dried in you can complement it with a highlight of your choosing. Be careful though! If you apply the fake tan wrong it’s not blendable, so be sure to practice before you have a big event coming up…
Q. Can you contour without a contour kit?
A. Absolutely you can! A kit just makes it easier, but you can build your own collection of shades to use or just even use the one!

Comments
One response to “How To: A Beginners Guide to Contouring”
I’ve used the Rimmel palette and I really liked it. Lasted ages too